Showing posts with label Textile art. Show all posts

Saturday, 29 December 2018

Matilda's Shed

Hi beautiful

Well the day has finally arrived! Matilda is so excited - her studio (affectionately known as The Shed) is now ready to move into. 

It's been a long wait - since November 2017, when Matilda first fell in love with the old shed on a back road outside town. She had longed for her own studio in the countryside for a long time. 

While the old building was being slowly restored, on the weekends, Matilda worked in the yard, pruning the trees, erecting a lovely wrought iron fence and lastly planting flowers in the front garden. The trellis is up and waiting for string beans and sweet peas to be planted. 

On this bright sunny day, Matilda and her furry friend, Cuddles are so happy to be in their new home. 

Flowers bloom along the fence

Matilda at the front door

Cuddles the cat being curious
 For those interested in the construction of Matilda's shed, here are a few notes. 
Inspiration: photo from a magazine - an old farm shed in country Victoria in autumn. 
Foundations laid: begun in a Ro Bruhn workshop in November 2017
Layers: Top of fabric pieces; muslin stabilised; wadding; calico backing.
Techniques: all hand stitched with the exception of securing the backing to the top. The wadding was added to give the stitched piece more substance. Transparent thread and small stitches secured the wadding. 
Size: 13" x 13.5" including binding.
Thanks to: friend Margaret gifting me the flowers (the tiniest yo-yos!); encouragement of embroidery friends. 

Happy stitching!
Cara

Tuesday, 21 February 2017

Paint fun

Hi beautiful

Today I indulged in a paint play on fabric. Just playing, experimenting. Happy with my results too.
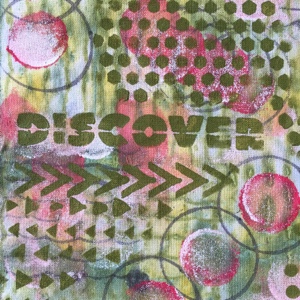
Discover, Inspire, Fly
Growth
For both pieces, I started out with white quilters cotton. A layer of fabric paints was applied using brushes on wet fabric for marking, flicking, a brayer for rolling paint, even a champagne cork as a stamp.
Background layer
For "Growth" above, I followed by stencilling leaves with a cosmetic sponge. Et voilĂ ! 

For the "Discover, Inspire, Fly" piece, after the colour was laid, I used a stamp in slightly watery paint for the ripple effect. A toilet roll inner was perfect for the outer circles and to fill, a round sponge dabbing red, then white paint. Lastly stencils were used for the face, texture shapes and words.

I can see myself stitching on both of these. Looking forward to that! 

Here are some close ups.
Discover
Inspire
Fly
Did you have some "me time" today? Don't forget to nurture your heart.

Love and lightness of being to you.
Cara

Sunday, 28 August 2016

Hankie cloth

Hi beautiful

It's hankie time!

Do you have a stash of hankies just waiting to be loved? I have a pillowcase full, compliments of my mother. So late in March I selected 28 from their hideaway and went to town giving them a facelift.

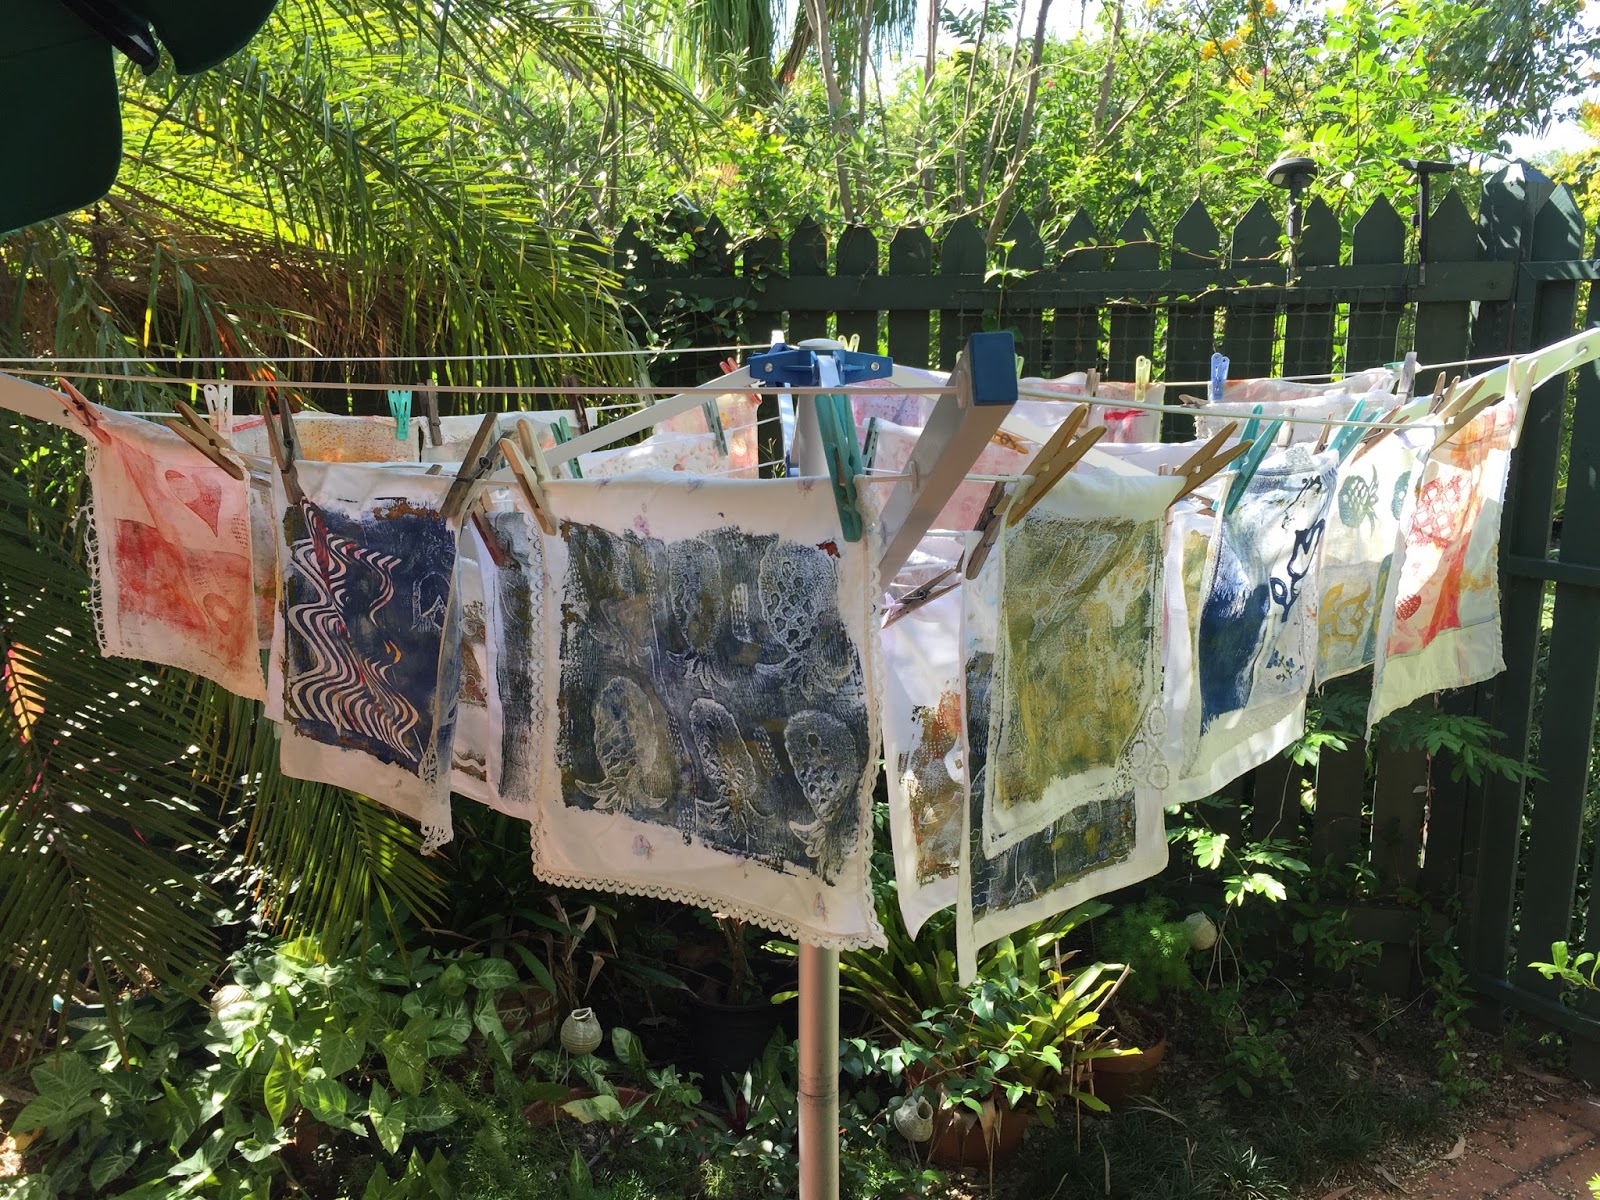
Using the gelli plate, foam stamps and fabric paint, I transformed the plain hankies into a kaleidoscope of colours. Here they are drying off.

Gelli printed hankies
A couple of months passed by while I mulled over "now what?" Then inspiration hit one Sunday morning in late July while playing with another project. A tablecloth! For the rest of the day I delightedly pinned and sewed hankies onto a recycled piece of calico.
Hankies pinned to calico
It took another session to finish sewing on all the hankies. Then some more colour fun with zig zag machine stitching around some of the edges.

At the beginning of August, I began hand stitching here and there, choosing some of the stamped images. Here are some close ups.
Flower in stem stitch

Heart edged in blanket stitch

Heart in double chain stitch
Today I added more stitching, this time with crochet cotton, rather than stranded cotton - background and one edge.
Running stitch background

In progress - Edge in up and down buttonhole stitch

Finished edge in up and down buttonhole stitch
This cloth has 20 hankies in total - 5 rows of 4. It will be a long term project, for those days when I feel like slow stitching. Who knows what delights will be stitched onto this piece? I hope to use more old fabric pieces of my mum. The time I spend on this cloth has become my conversation time with my mum. She was a good dressmaker and embroiderer. While I still have my mum, sadly she has dementia and is unable to chat or remember. This is my conversation with her.

Enjoy recycling your hankies!

Cara

Wednesday, 17 August 2016

Places to go... to enjoy

Hi beautiful

The theme for this month in my fabric pages is "Places". What a wonderful creative journey I've enjoyed and agonised over. I ended up with 2 double sided pages; one became the front cover of a journal and the other, the back cover.

Enjoy the journey.

The front cover carries the title "Going Places". This page gives glimpses of my early memories of going for drives and outings from our home in Rockhampton. All the kids bundled into the car and off we'd go! The mountain range, the meandering Fitzroy River, the big bull, an icon of the town. The street we lived in ran straight down to the river and my school was just walking distance away. Below is the whole front page. Lots of machine stitching on a variety of prints.

Front Cover
Turn over and the inside page reflects my "Happy Places" - ocean, sand, gardens, home, Christmas, rolling green fields, star studded sky. A collage with lots of colour and use of prints, a combination of hand and machine stitching, crafted wire shapes, fabric scraps from dresses made long ago, a double weave test piece.

Happy Places - verso of front cover
Now to the back cover. The inside page features Canberra, a place I've both visited on holidays and lived in. Autumn colored fabric forms the background with a free motioned rough outline of the inner city's original street layout. Stitched and stamped patches each show a place in Canberra.

Canberra page
The back cover is a collage of stamps, each featuring a place in Australia. The stamps were glued and stitched onto a foundation of cotton fabric supported by heavy interfacing. The outline of Australia is stitched by hand - apologies to Tasmania as I ran out of space!

Back cover
So there are the four pages viewed individually. To bring them together, a felt spine decorated with machine stitching is attached to front and back. Paper pages in 3 page signatures cut to size are machine stitched across the spine. 

Felt spine with decorative machine stitching

Signatures viewed from above

First paper page

Decorative stitching between each signature
I loved how this journal evolved, challenging me to try out different ideas. It certainly was nothing like the idea I started with!

Enjoy your creative journey! 

Love
Cara

Tuesday, 12 July 2016

Lace nostalgia

Hi beautiful

Last post I shared the beginning of my fabric journal journey.

Here's the second signature which focuses on the "lace" theme.
Page 1
For me, lace always conjures up times past, the old days. This first page uses pre-loved worn pieces of fabric, a strip of cotton lacy edging, a length of tatting, scraps of vintage fabric, a clothing label depicting a colonial couple, old buttons - all patching and decorating the humble tea towel base. A variety of hand stitches highlight the "make-do" nature of this page.
Page 2
Glorious lace and pre-loved buttons bring a feminine softness to this page. The lace butterfly is so nostalgic of a bygone time.
Page 3
The old days theme continues with a photo of my great grandfather with his hoop. The lace top and bottom and the use of three buttons are continued across from page 2.
Page 4
The soft neutral colours continue with the crocheted doily, a vintage button, a piece of lace, a strip of ric rac and petticoat lacy edging.

This 4 page signature was most enjoyable to make. I love the softness of the finished piece - both its texture and colour palette. So reminiscent of a bygone era.

For a flip through this signature, watch my video clip below.


May you go gently through your day.

Love Cara

Fabric journal wander

Hi beautiful

What a wonderful world of textiles we live in! 

One of my projects this year is inspired by a wild group of women who love their textiles. The project is a fabric journal with the pages reflecting a different theme. The themes to date are "Words on the Page" and "Lace".

Here's what I've created for the first theme, "Words on the Page".
Page 1: Postcard - front
The front of the postcard depicts a village by the water, visited on a holiday. A cheery hello is sent by the happy holiday maker.
Page 2: Postcard - back
Quickly written words describing ever so briefly the fun and discoveries while on holidays.

The following two pages in the signature move to school days.
Page 3
Scissors and glue, crayons and printing, a ruler - memories of the first years at school. Mind you, I don't remember too much of the scissors and glue fun!
Page 4
Learning to print on lined paper with a pencil. The joy of written words has begun.

For a flip through these 4 pages and a description of how I constructed the pages, check out my video clip.


Thanks for dropping by!

Love Cara

Monday, 28 March 2016

A smile is the beginning of peace

Hi beautiful

Easter is upon us. This quote from Mother Teresa, "A smile is the beginning of peace" is apt at this time. What better place to display it but on an iPad cover!

Front of cover
The cover was fun to make with lots of machine stitching! The top layer is a random collage of fabric pieces arranged over a middle layer of wadding and a bottom layer (lining) of two hankies. The result is a thick and firm piece.

Back of cover
Pieces of tea dyed cotton, each stamped with a quote were hand stitched on the front,  reverse of front flap and on the back. The back piece is a pocket.
Front flap open showing Velcro closure
The hankie lining is visible in the photo above and below. The hankies were a similar size and colourful. The border of the blue one worked very well indeed.
Inside cover
So there you have it. A functional item made from leftover pieces of fabric and old hankies.

I love it when something "old" or recycled is used.

Peace to you and yours.

Love Cara

Friday, 25 March 2016

Seeds to sew

Hi beautiful,

Last weekend I enjoyed the Stitches and Craft Show in Brisbane. I particularly wanted to check out the textile art of Ali George. Ali had a goodie starter pack for making a book cover or wrap. Dyed fabric, silk ribbon, buttons, printed paper, threads were included plus the opportunity to sit and chat with Ali and Rebecca, both textile artists. 

Browsing their creations and inspired by their ideas, I headed home to make my first piece of textile art.  After much to and fro in my layout and design, I am pleased with the result - a book / iPad pouch!
Front cover
I first embroidered some of the stamped areas on the fabric. I dyed a stitched piece, "Seeds to Sew" completed a few years ago, with blackcurrant tea. The tea produced a lovely rosy shade, matching beautifully with the soft colours of the fabric. Ric rac, also dyed, bordered the piece. Buttons were added to corner the tag. The large red button from my Mother's collection, was ideal to wind the length of fabric around.

Lining inside pouch
The pretty floral cotton made a lovely lining for the pouch.
Back cover of pouch
So my first textile art piece completed! Thanks to Ali and Rebecca for their inspiration.

Inspiration: the process of being mentally stimulated to do or feel something, especially to do something creative.

Love
Cara